This is a regular question; the answer depends upon the individual & the site.
Construction
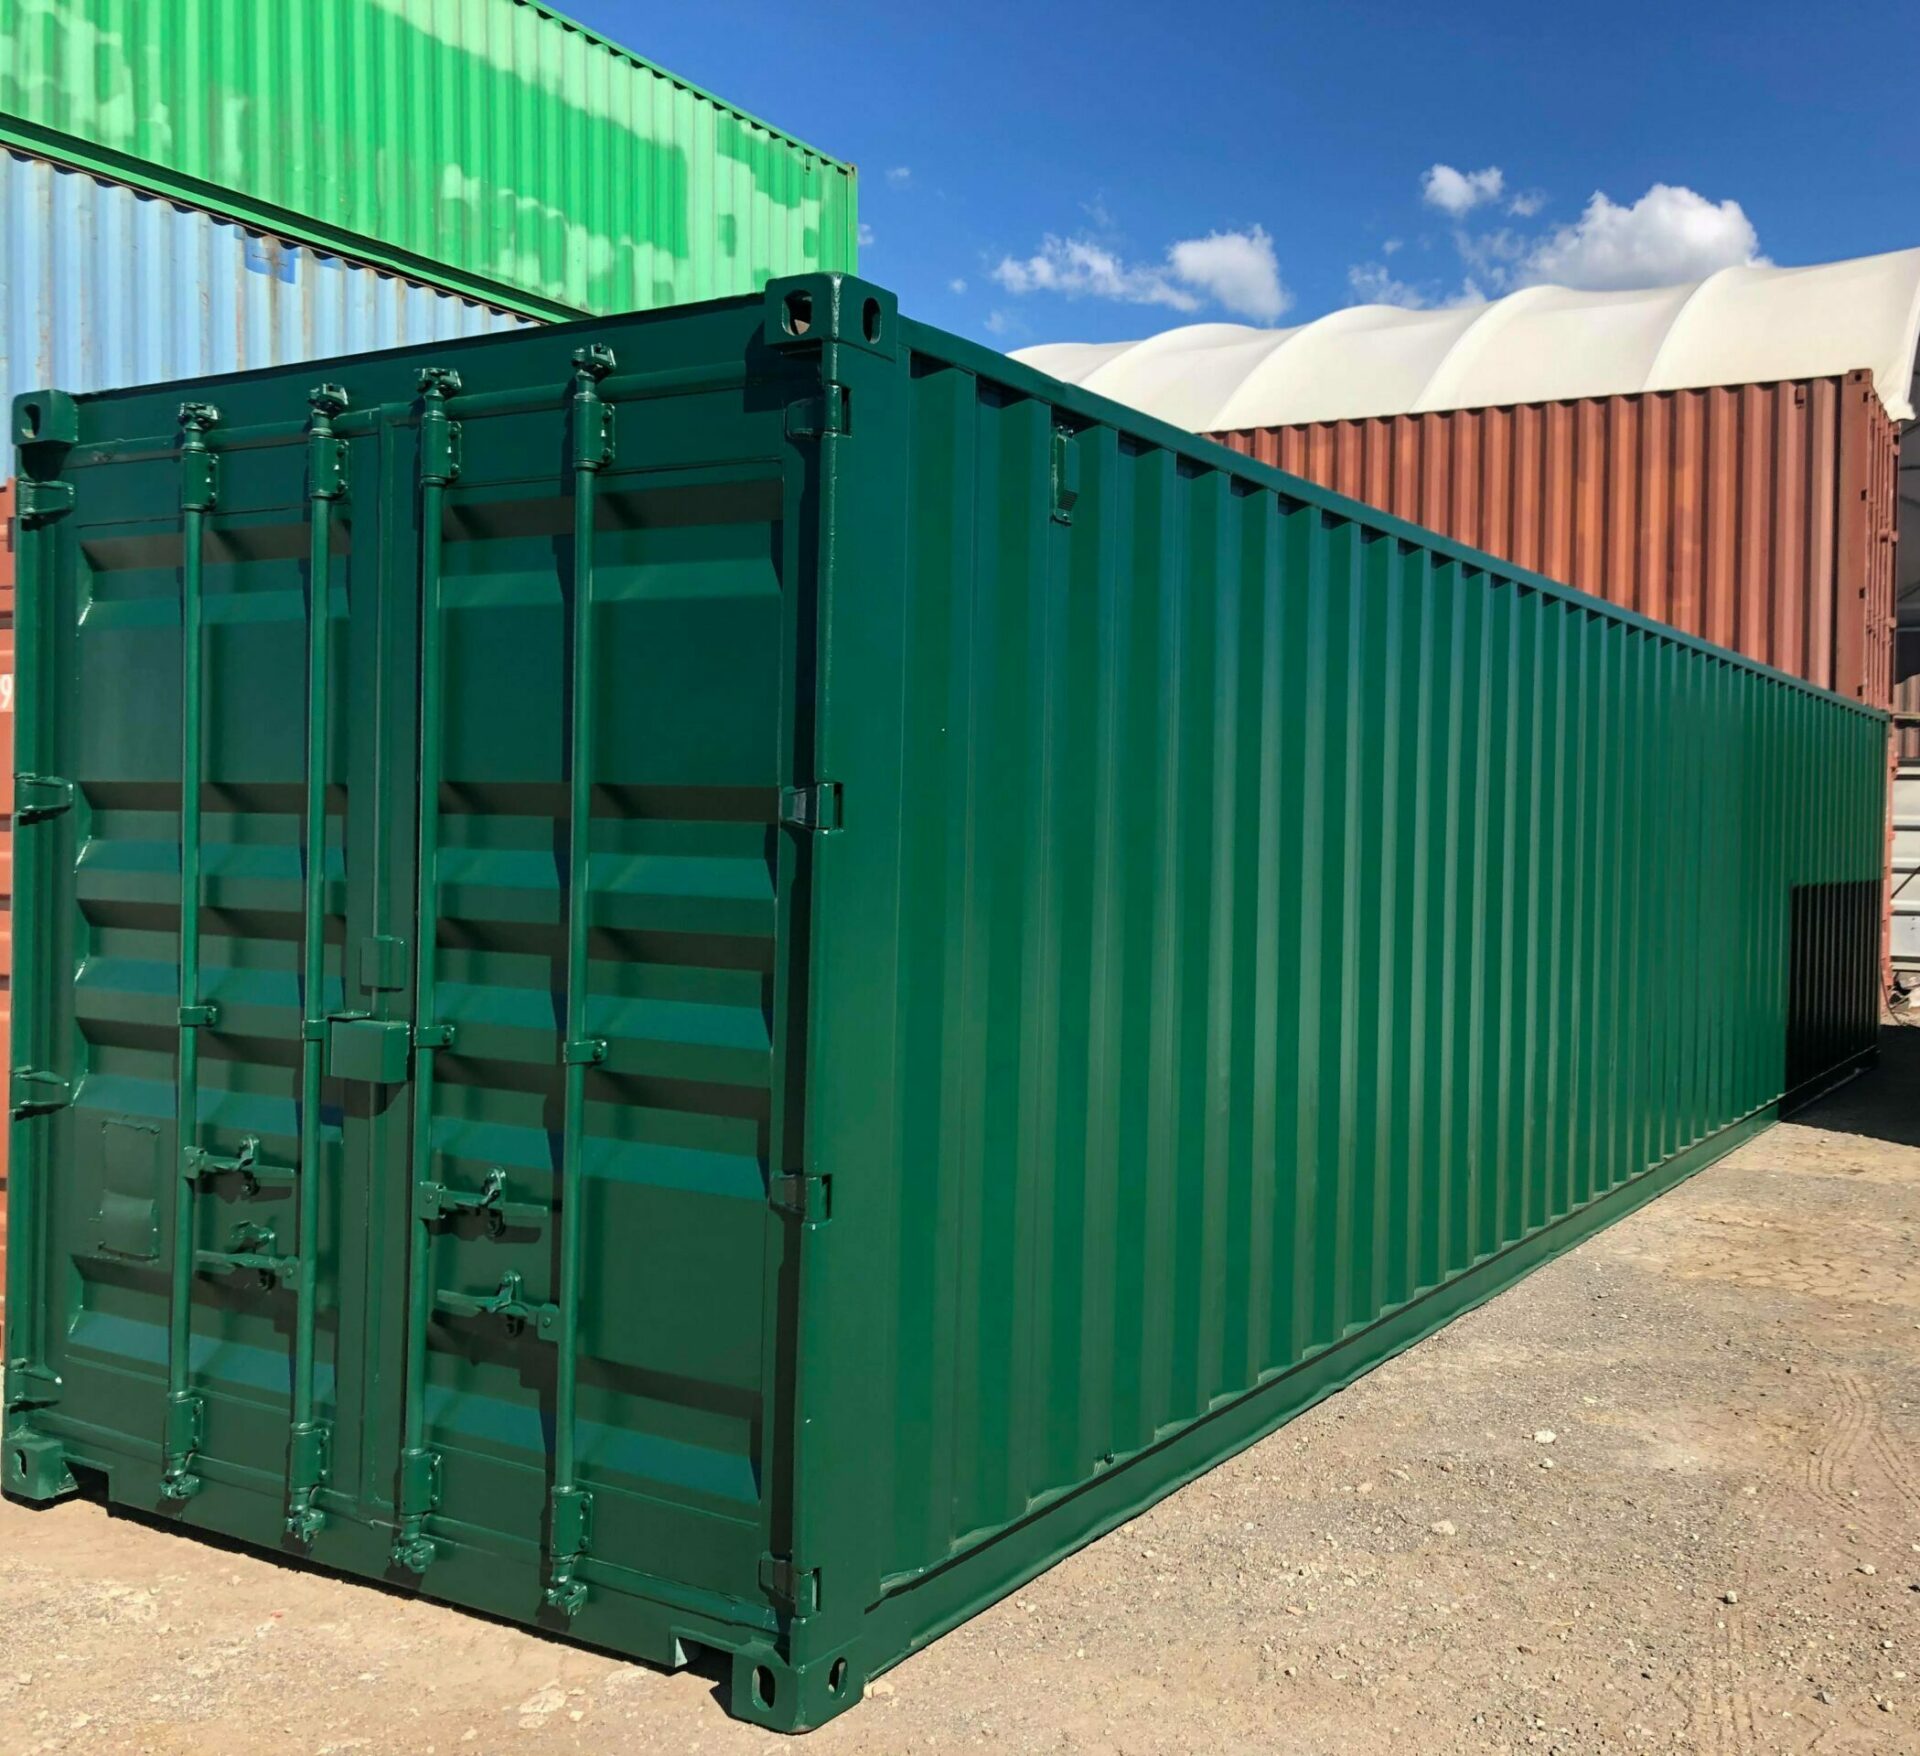
When a shipping container is build, all the steel work is shot (sand) blasted & primed with a Zinc undercoat, then the entire sub floor area is sprayed with a very thick coating of bitumen. This coating seals the timber flooring, and protects the steel from corrosion. The steel used in containers is a special steel called ‘Corten’. This is a high tensile steel (hard to bend/dent) that also has some rust resistant properties. The combination of these measures usually prevents the sub floor area from deterioration for the life of the container.
The sub floor of a container comprises the two long side rails, the front & back rails (the perimeter of the container floor) & cross members that are welded between the two long rails, every 30cm’s. All these rails are a ‘C section approx. 125mm high, the flooring (which is treated timber, 28mm thick) is then laid on top of these steel beams & screwed down. This means that water needs to be approx. 150mm deep before it gets to the inside floor level of the container.
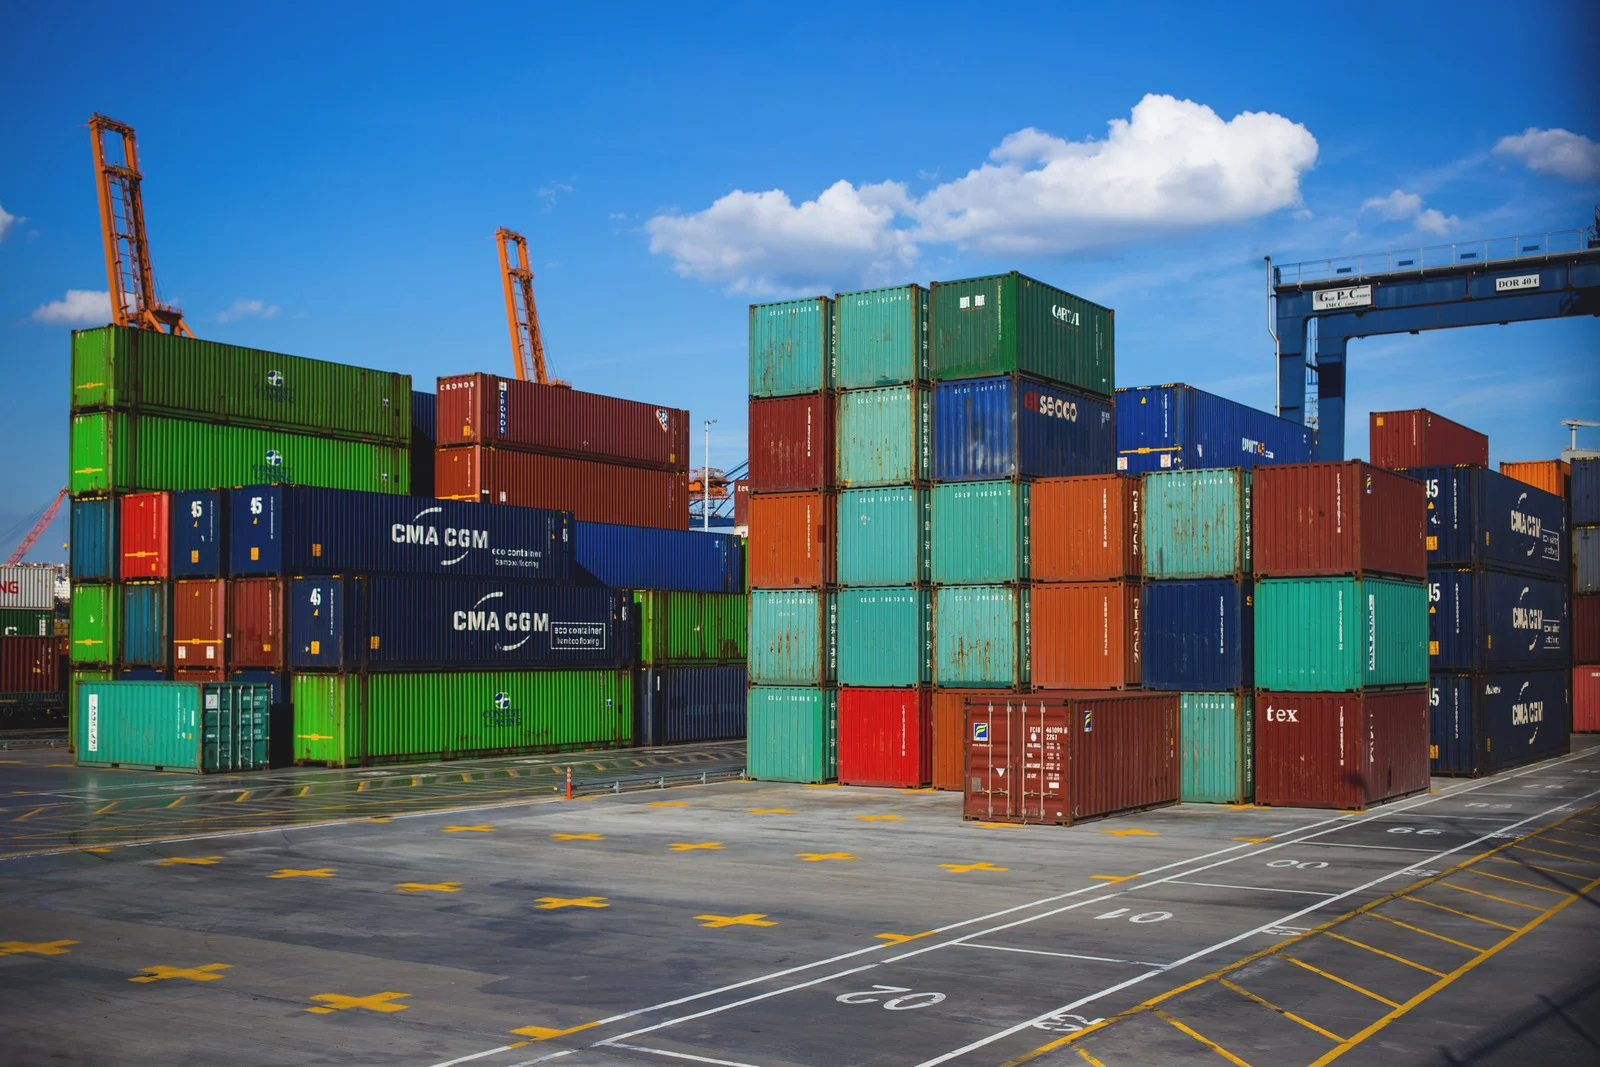
This lattice of steel rails are all level on the bottom surface, so when the container sits flat on the ground all of these rails contact the ground at the same time providing a 20ft or 40ft x 8ft foot print, meaning it’s very unlikely that it’s going to sink.
In general, if the site is reasonably flat and not prone to being boggy or wet there is no real reason to put the container up on blocks.
Arguments For & Against putting your container up on blocks
For
- If the site is boggy or wet, and there is a lot of weight in the container, the container can settle into the ground slightly. For the same reason, the blocks you use will also sink, but even deeper as all the weight will be on a small footprint rather than a 20ft/40ft x 8ft footprint
- If the container is positioned in a wet/damp area, having it up on block will create an air gap under the container so moisture doesn’t build up under the container. This moisture may potentially make the flooring damp. This dampness may then ‘sweat’ out of the flooring (inside the container) on hot days increasing the humidity inside the container, which can condense on the ceiling on cold nights & ‘rain down’ inside the container. This ‘rain’ can cause mildew inside the container
- If the container is sitting flat on the ground, rabbits, foxes, snakes, rats etc can dig under the side rail, and nesting in the cavities/space between the ground & the underneath of the flooring (spaces between the cross members, each approx. 30cm wide x full width of container x 125mm high). If the container is up on blocks these pests can still get under the container but won’t nest as the area is open rather than hidden.
- If the container is up on blocks it makes it easier to get a Car/Hydraulic jack etc under the edge of the container to jack it up to make it sit flat if you are having trouble closing the doors. (see my blog ‘Racking Solutions’)
- If the site is sloping it’s best to have the container up on blocks so you can level the container (different to being flat), lifting the low end/side higher so the floor is level & you can stack goods inside the container and they don’t fall over.
- If the container is up on blocks it allow you to store long/wide product such as roofing iron, lengths of pipe etc, under the container so they’re out of the way but easily accessible.
AGAINST
- Having the container up on blocks will increase the height from the ground to the container floor level. The usual ‘Step up’ into a container is approx. 150mm, if the container is up on blocks this step up height will increase by the thickness of the blocks being used. This extra height means that anything being carried, wheeled, lifted or driven into/out of the container has to deal with this extra height.
- If a container is on blocks, over time one or more of the blocks can rot, or sink into the ground further than the others causing the container to twist and no longer be sitting flat (all 4 corners not on a flat plane). This twist can often cause the doors to be very hard to open &/or close. To correct this twist the container will need to be lifted/jacked up in the low corner & some packing/thin shims placed between the underneath of the container & the top of the low block/s.
- With the container on blocks it allows leaves & debris to build up under the container, this can be a problem if a grass fires comes through. If the container is flat on the ground the grass fire will burn up to the side of the container & scorch the paintwork. If it’s on blocks the fire can burn under the container, set the leaves/debris on fire which can potentially set the flooring on fire & burn out the container. This fire risk situation can also be a consideration if the container is somewhere that vandals might light a fire under it.
What blocks should I use?
Your project/use for the container may only be short term, but the container will have many lives, being used for many other projects & will probably be in this position for many, many years. With this in mind use blocks that will stand the test of time, something like treated pine, bricks, concrete blocks/pavers etc. I usually recommend getting 2 x treated pine sleepers (from garden centres, larger hardware chain stores etc) which are 200mm wide x 100mm high x 2.4m long. Cut these in half so you have 4 x 1.2m long block – one under each corner, this give you a nice wide footprint onto the ground that isn’t too high. Try to avoid untreated soft or hard wood, these will work until the most inopportune time, then you’ll discover they have rotted away, but not before the container is that full it’s too heavy to lift to replace the blocks.
Remember, shipping containers – even 40’ long, only need to be supported in the 4 corners, even when fully loaded.
How do I get the container up on the blocks?
AT TIME OF DELIVERY
When the container is delivered to your site it will arrive on either a Tiltray, Sideloader or HIAB Crane truck.
Each of these vehicles will be able to position the container onto blocks as they are unloading the container. If delivery is by a Sideloader or HIAB you could position & level the blocks prior to the trucks arrival as each of these trucks will park beside the blocks & will lower the container into position.
If delivery is by Tiltray don’t position the blocks, as the truck will have to drive/reverse over the blocks to get the container into position to unload. As the tiltray is driving out from under the container, the operator can adjust the tray of the truck to lift the container and allow the blocks to be positioned underneath.
AFTER DELIVERY
This can be a bit involved, especially if the container is loaded.
Empty
a) If you have the capacity the simplest way is with a forklift, even if it’s only a walk behind forklift it will usually do. Simply tilt the tynes forward slightly and put the tip under the edge of the container near the corner and drive it in hard. The tyne will act as a wedge and lift the container, if you then tilt further forward it will lift the container further, pack the corner at that point. Once packed/blocked, tilt back & most/all of the weight will come off the tyne & you will be able to back out. If the container isn’t high enough continue the process again until it’s at the height you need.
b) If the container on grass/dirt you could dig a small ditch/hole beside the corner, use a strong length of timber or steel (at least 2m + in length) and place it into the hole just under the edge of the container, this will be your lever. With one end of the lever in the hole & under the edge of the container, lift the other end high and place a thin block of timber/steel etc ender the lever and as close to the container as you can get it. As you lower the lever & push down on it, it will lift the container slightly; while you hold weight down on the lever have someone place a packer/shim in the gap between the ground & the corner of the container. This gap will often only be 10mm more or less. Once the packer is in place, take the weight of the lever & lower the container back down onto the packer. If you need it higher, lift the lever – place a bigger block under the lever & repeat the process putting in more packers until the corner comes up far enough. If the container is on cement use a large ‘crow bar’ and slide the tip under the edge of the container beside the lift the end of the crow bar high in the air & place a thin block of timber/steel under the crow bar as close to the container as possible, then push down on the crow bar. Continue the procedure as detailed above.
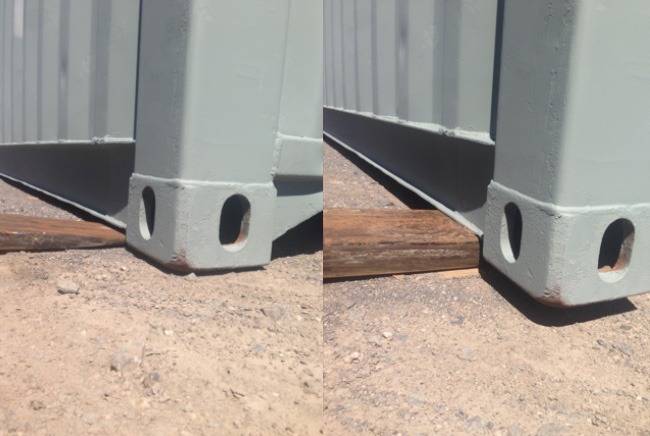
Alternatively if you can find a long strong metal bar/pipe that will fit into the hole in the corner casting, this can be used rather than getting underneath the container with the lever.

c) If the container is on dirt or grass, the alternative to the lever method above is to use a heavy duty car jack or Hydraulic Jack. You will need to dig a hole under the side or front wall of the container and position the jack in the hole under the bottom edge of the container & then operate the jack. This will lift the container & allow you to install your blocks
Loaded.
This can be difficult. You can use any of the methods listed above, but obviously each of them will require greater effort & machinery/equipment with greater capacity. Sometimes there is no alternative but to get a crane to lift the container, either all at once or a corner at a time if it’s too heavy.